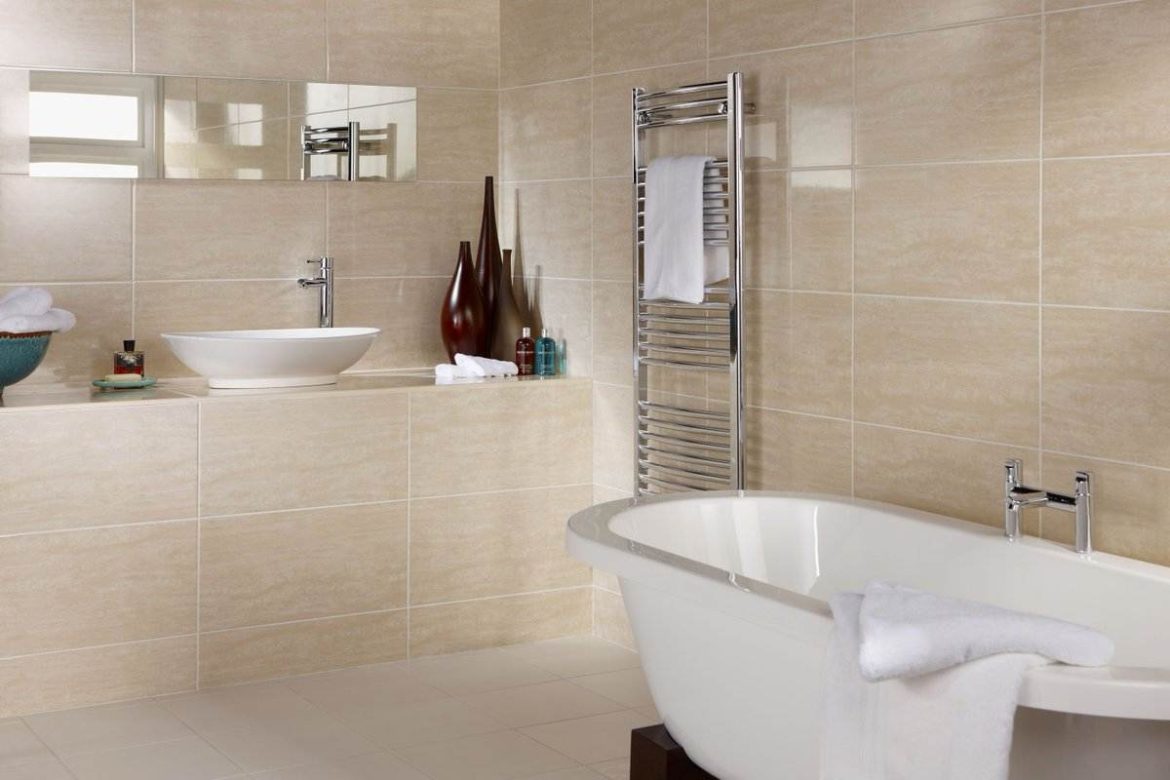
Considering the importance of backsplash to the overall aesthetic look of the kitchen interior installing procedure of ceramic tiles takes on prime importance. What do you know about installing tile backsplash? If not, you likely know nothing about backsplash tiles. Those who have previously placed back splashes may already know how to do so, but if you have never done so before, you should read the following instructions carefully. Installing a backsplash is not difficult, but it might be scary if you’re not sure what you’re doing. Then shall we begin, shall we? Preparing the area for tile installation. The first step is to ensure that the surface is clean. Ensure that there are no tools, grout, paint, or other dirt lying around. Don’t forget to remove any protruding nails or screws from the wall! Where the tile touches the wall, any rough edges must be trimmed down. Then, you should level the floor.  Without a nice, flat surface, it will be impossible to cut and place tiles properly. To achieve this, measure the distance between two lines using a straight edge, then draw a line along each side of the room and measure the height difference between the lines. This will assist you in using a hand-held power tool to level the floor. Sanitizing the area After preparing the area, it is time to begin cleaning. Start by wiping the area with a moist cloth, then finish with a dry one. This is necessary to eradicate dirt and filth. Adjusting the dimensions of the tiles. The fun phase, which is cutting the tiles, is coming up next. You should be aware of the fact that tiles are sold in accordance with their dimensions before you begin cutting them; you will need to determine the size of the tiles you will be using. Finding a piece of paper that is 2 inches wide and 4 inches long is the quickest and easiest way to do this task. The length of each tile should be measured from corner to corner, and the measurement should be recorded. After this value has been found, the width of the tile can be calculated by dividing it by two. Before you start cutting, you should take the dimensions and write them down so you don’t forget them now that you know the size of each tile. You need to take measurements of the area that will be covered by your tile. After the measurement has been taken, you should mark the location with tape or chalk so you don’t forget it. Select the proper tools for the task, including a circular saw (if you want to save yourself the hassle of buying a jigsaw), a utility knife (for making precise cuts), a hacksaw or handsaw, and a hacksaw or handsaw (to cut tiles larger than 9 inches).
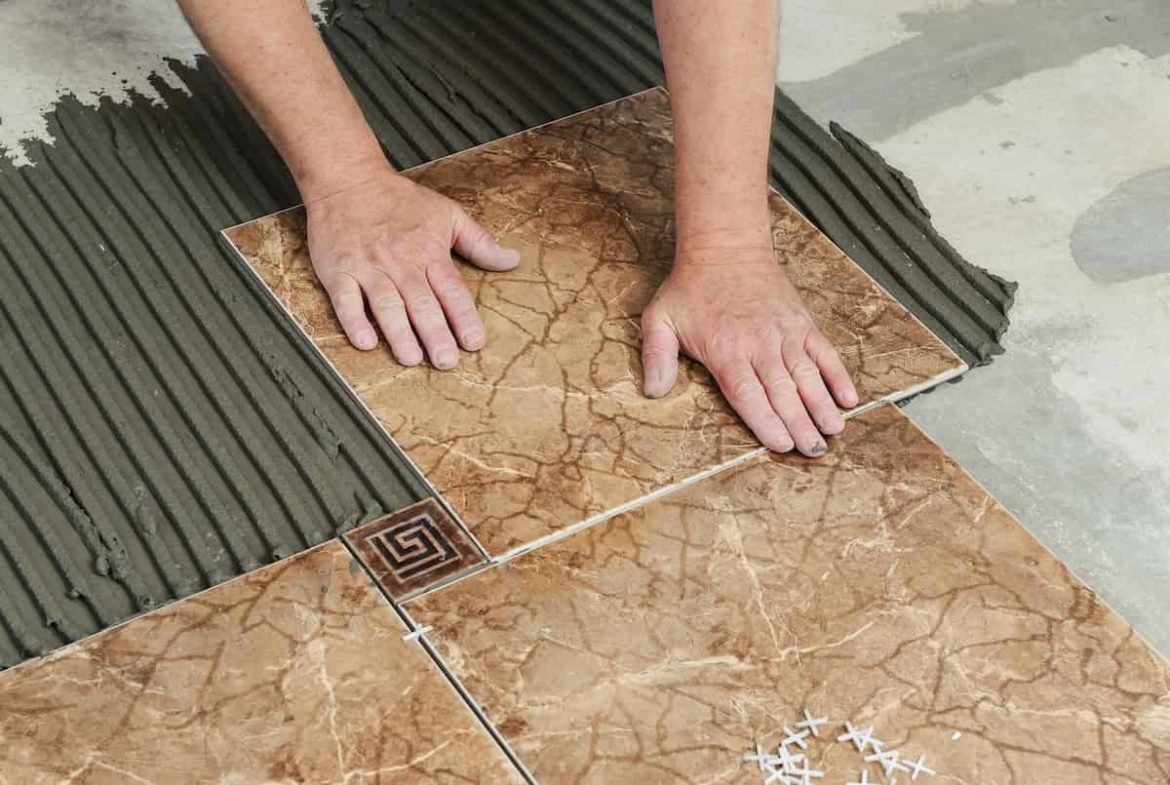
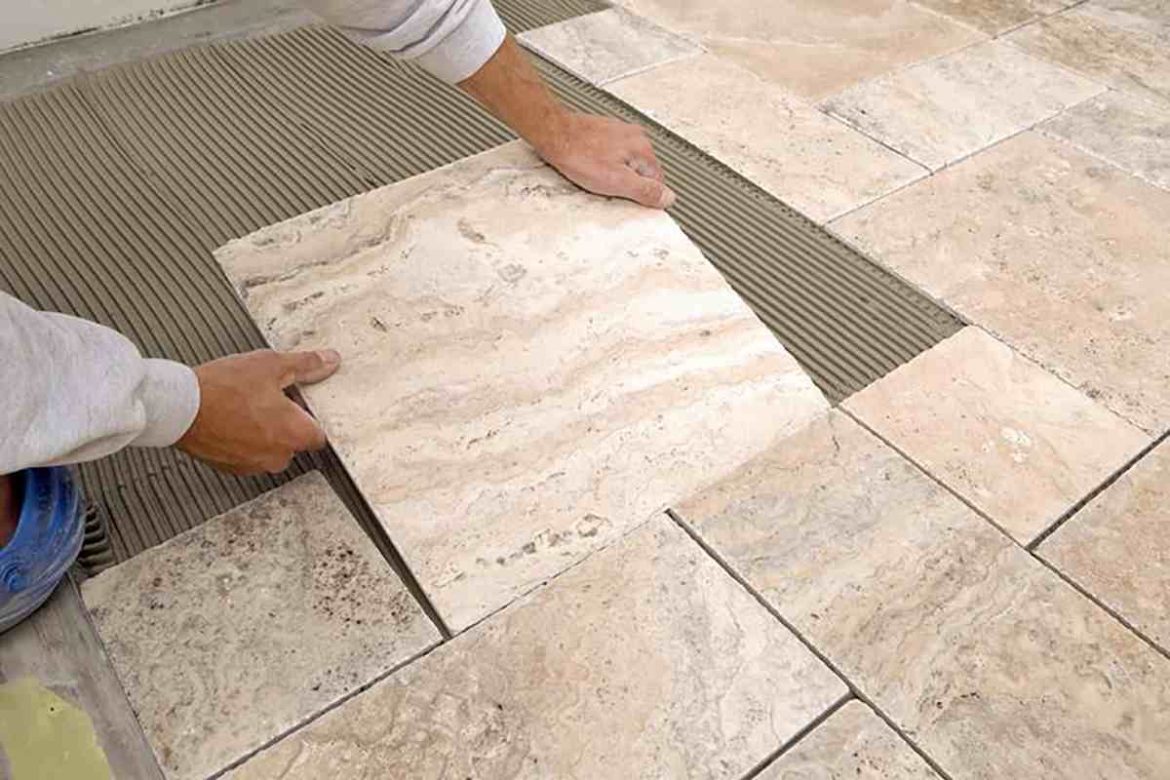
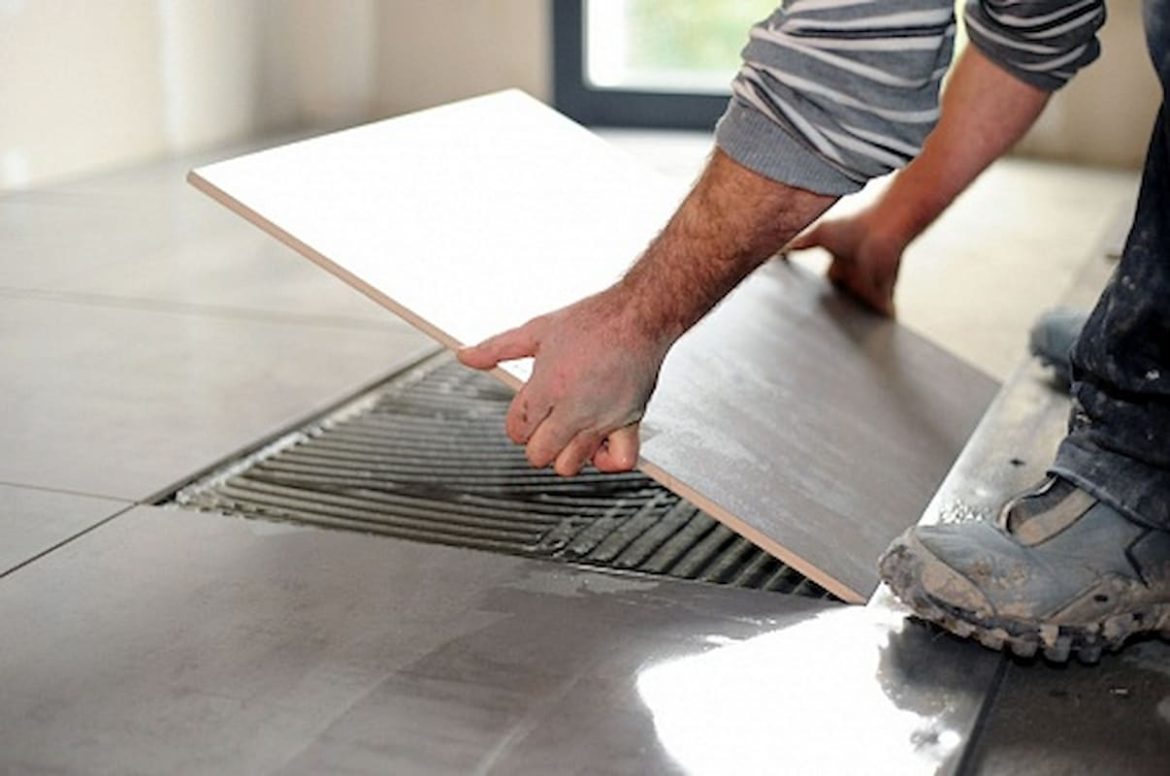
  When working with tools, it is imperative that protective eyewear be worn at all times, just as it is with any other activity. Before you begin, make sure that your circular saw is equipped with a miter box, which is a specialized accessory that facilitates the accurate cutting of angles. Then, while holding the tile in one hand and tapping it lightly against the table until it breaks away, the speed of the blade should be set to its slowest setting. Positioning the tile on the floor. There are a number of different approaches to laying the tile. Taping and finishing is the name given to one of the methods. The installation of tiles comes after the process of taping, which consists of applying narrow strips of adhesive-backed paper to an already existing flooring. After the tile has been positioned, cover it with additional paper strips to more securely fasten it in place. To prevent the tiles from becoming damaged by moisture, a sealer should be applied to them. An other option is to make use of sticky foam backing board and to lay the tiles directly on the surface, without the usage of paper. Use the appropriate amount of pressure to ensure the best possible adhesion. After the tile has been installed, there are a few remaining steps to complete the installation. Caulk any cracks in the tile before proceeding. Next, apply a thin layer of silicone caulk to the tile’s whole surface. Permit the caulk to set overnight.
  Using a utility knife, remove excess caulk, leaving only a small amount on the surface. Then, apply multiple coats of polyurethane finish to the entire tile surface. Allow the finish to fully dry before placing furniture on the tiles. This is a brief summary of how to install ceramic back splash tiles. Installation Preparation is Step 1 Before laying any kind of tile, you must prepare the area. Remove any tiny furniture or appliances that could impede the installation. To clean and prepare the walls, paint, wallpaper, and tape residue must be removed. If at all feasible, allow the walls to dry before beginning installation. Ensure that electrical outlets are correctly grounded and unpowered. Step 2: Wall Preparation Use a hammer and chisel to remove old plaster and wallboard by breaking down the existing wall surface. Then, remove the loose debris using a utility knife. Use a putty knife to dislodge and remove staples and nails. Check for sharp edges on the exposed region. Cut into the mortar connection between the tiles and use damp fingers to smooth any rough edges.
  Step 3: Preparation and Application of Grout The process of grouting entails applying grout to the spaces between each tile. Make sure to apply grout per the manufacturer’s instructions. Distribute grout across the whole joint line. Give the grout at least 24 hours to harden. Scrub grout off the edges of the tiles using a stiff brush. Clean using a wet towel. Before applying sealant, give the grouted surface 12 hours to dry. Step 4: Sealer & Finish Apply the recommended coating specified on the product’s label. Sanding is not required if a clear floor finish or stain-seal is used.


Your comment submitted.